Rabbit skin glue experiment
And so my new journey with cold wax begins and I have to start at the bottom. For this experiment I found several recipes to get a good primer. Since I like to work with waste, including old cardboard boxes, the bottom layer must be good, otherwise the oil will leak through the cardboard with all the consequences that entails.
Their solution at the time was to “oil through”, in other words provide the entire canvas with a layer of oil. That doesn’t seem like the solution for my work, so I turned to other means, such as rabbit skin glue.
Rabbit skin glue is mainly used in musical instrument construction. Since the glue becomes liquid again when heated, the instrument can be disassembled for repair. There is a limit to this: the more often heated, the less the adhesive power. Rabbit skin glue is also said to be better than bone cement. The latter is less flexible and rather smelly. I keep in mind the isinglass. It doesn’t smell, and can also be bought ready to use.
After making the glue water with rabbit skin glue, I could continue with the recipe for the primer. I got a nasty gel-like substance and the chalk and pigment were not properly dissolved. The result: a very very grungy effect. After the base coat had dried, I couldn’t get the cold wax on it in good decency.
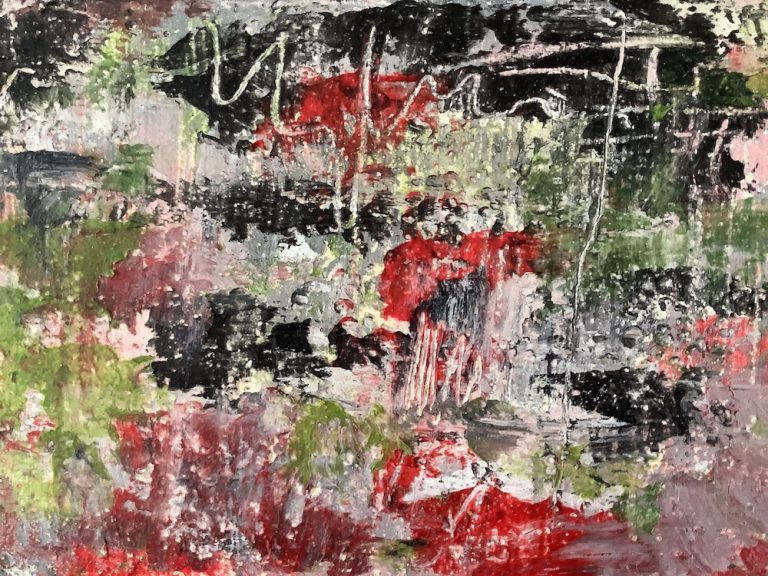
It is a nice idea though to use this further in combination with watercolor, gouache and a regular brush or spraying / air brushing.
Turns out I hadn’t done it quite right. When I first made an oil paint myself, by rubbing pigment powder with boiled linseed oil, I noticed how long it took before a nice smooth substance was created. That gave me the idea to give the rabbit skin glue a second chance.
Also the spreading on the surface went much better. The substance was creamy, but I had to work a bit faster. When the glue drops to room temperature, it will turn back to a gelatin gel. After spreading it over an old cardboard cornflakes box, I lightly went over it with a paint roller, hoping that it would create a kind of tooth.
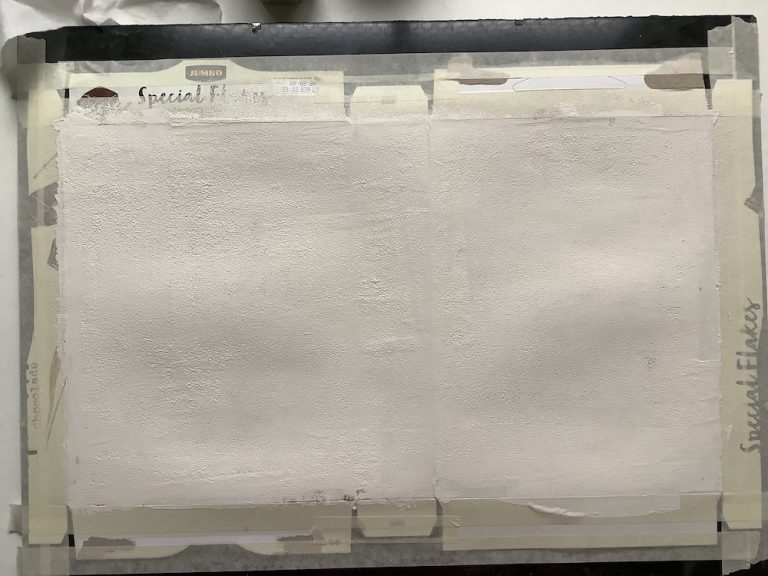
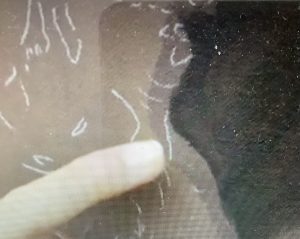
After the first layers you won’t notice anything of the surface anymore. Making many layers and removing them again is easy and when I end up on the base layer with my scraper, I don’t suddenly have a hole. I am quite satisfied with the result. Once dry, I check the back and see that the oil from the cold wax has not penetrated. Experiment successful!
Note to self:
When I make a next batch of rabbit skin glue, I will store the made rabbit skin glue in several smaller portions / jars, so that the adhesive strength is guaranteed because it does not have to be heated again and again.
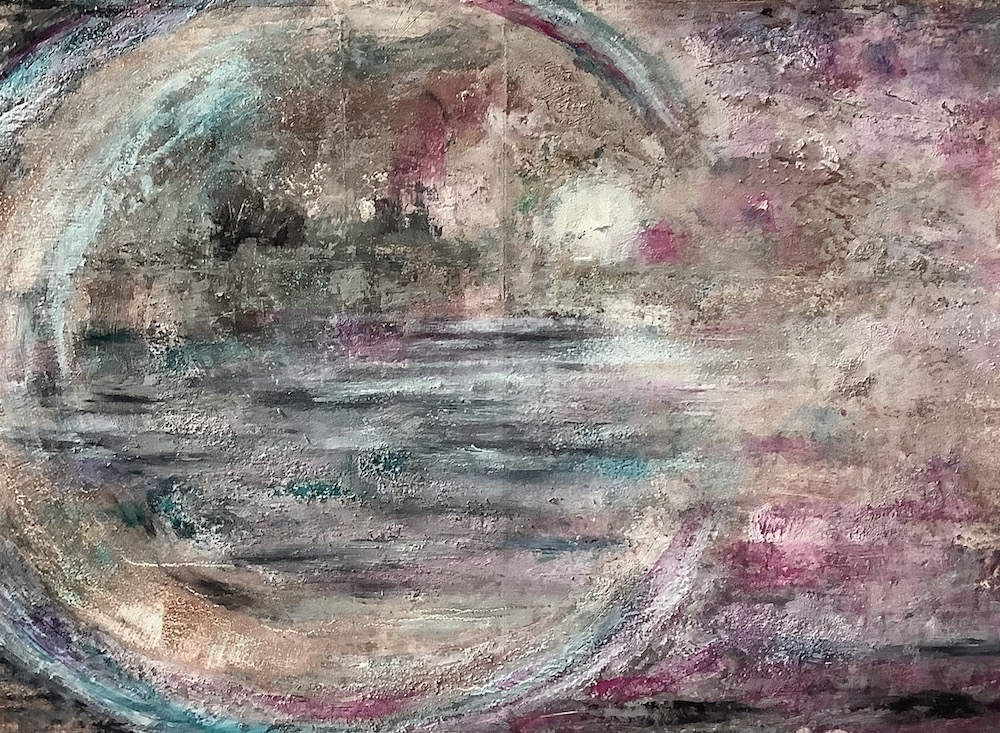
And here is the result…